Cryostat 4.1.0
Installing Cryostat Operator
Follow the steps below to install the Cryostat Operator via OperatorHub.
Install cert-manager
The Cryostat Operator requires cert-manager v1.13.6+ to run. If not already installed in your cluster, please install it using your preferred method. Once installed, proceed with the Operator installation steps below.
Warning: Although it is possible to disable cert-manager integration, it is NOT recommended to do so unless cert-manager is unavailable AND one of the following applies to you:
- You have another solution for encrypting traffic
- You trust everything running in the same cluster where the Cryostat Operator is deployed
Install via OperatorHub
See below for a summary of the installation steps from the Cryostat Operator page on OperatorHub. For more details, visit Installing the Cryostat Operator from OperatorHub.
- Install the Operator Lifecycle Manager (OLM):
Check if OLM is already installed:
 $ operator-sdk olm status
 $ # or without the operator-sdk binary,
 $ POD="$(kubectl get -l app=olm-operator -n olm pod -o 'jsonpath={.items[0].metadata.name}')"
 $ kubectl exec -n olm "pod/${POD}" -- olm --version
If Operator Lifecycle Manager (OLM) and OperatorHub are already installed and available on your cluster, skip to Step 3:
Install OLM:
$ operator-sdk olm install $ # or without the operator-sdk binary, $ curl -sL https://github.com/operator-framework/operator-lifecycle-manager/releases/download/v0.25.0/install.sh | bash -s v0.25.0 - Verify the installation was successful by confirming all pods are
Running:$ kubectl get pods -n olm NAME READY STATUS RESTARTS AGE catalog-operator-77b8589cd8-8bntf 1/1 Running 0 3m9s olm-operator-5ccf676d8b-7rgss 1/1 Running 0 3m9s operatorhubio-catalog-pb896 1/1 Running 0 3m3s packageserver-8cccc99dd-dv8rp 1/1 Running 0 3m3s packageserver-8cccc99dd-g7lkh 1/1 Running 0 3m3s - Install Cryostat from OperatorHub:
Cryostat on OperatorHub
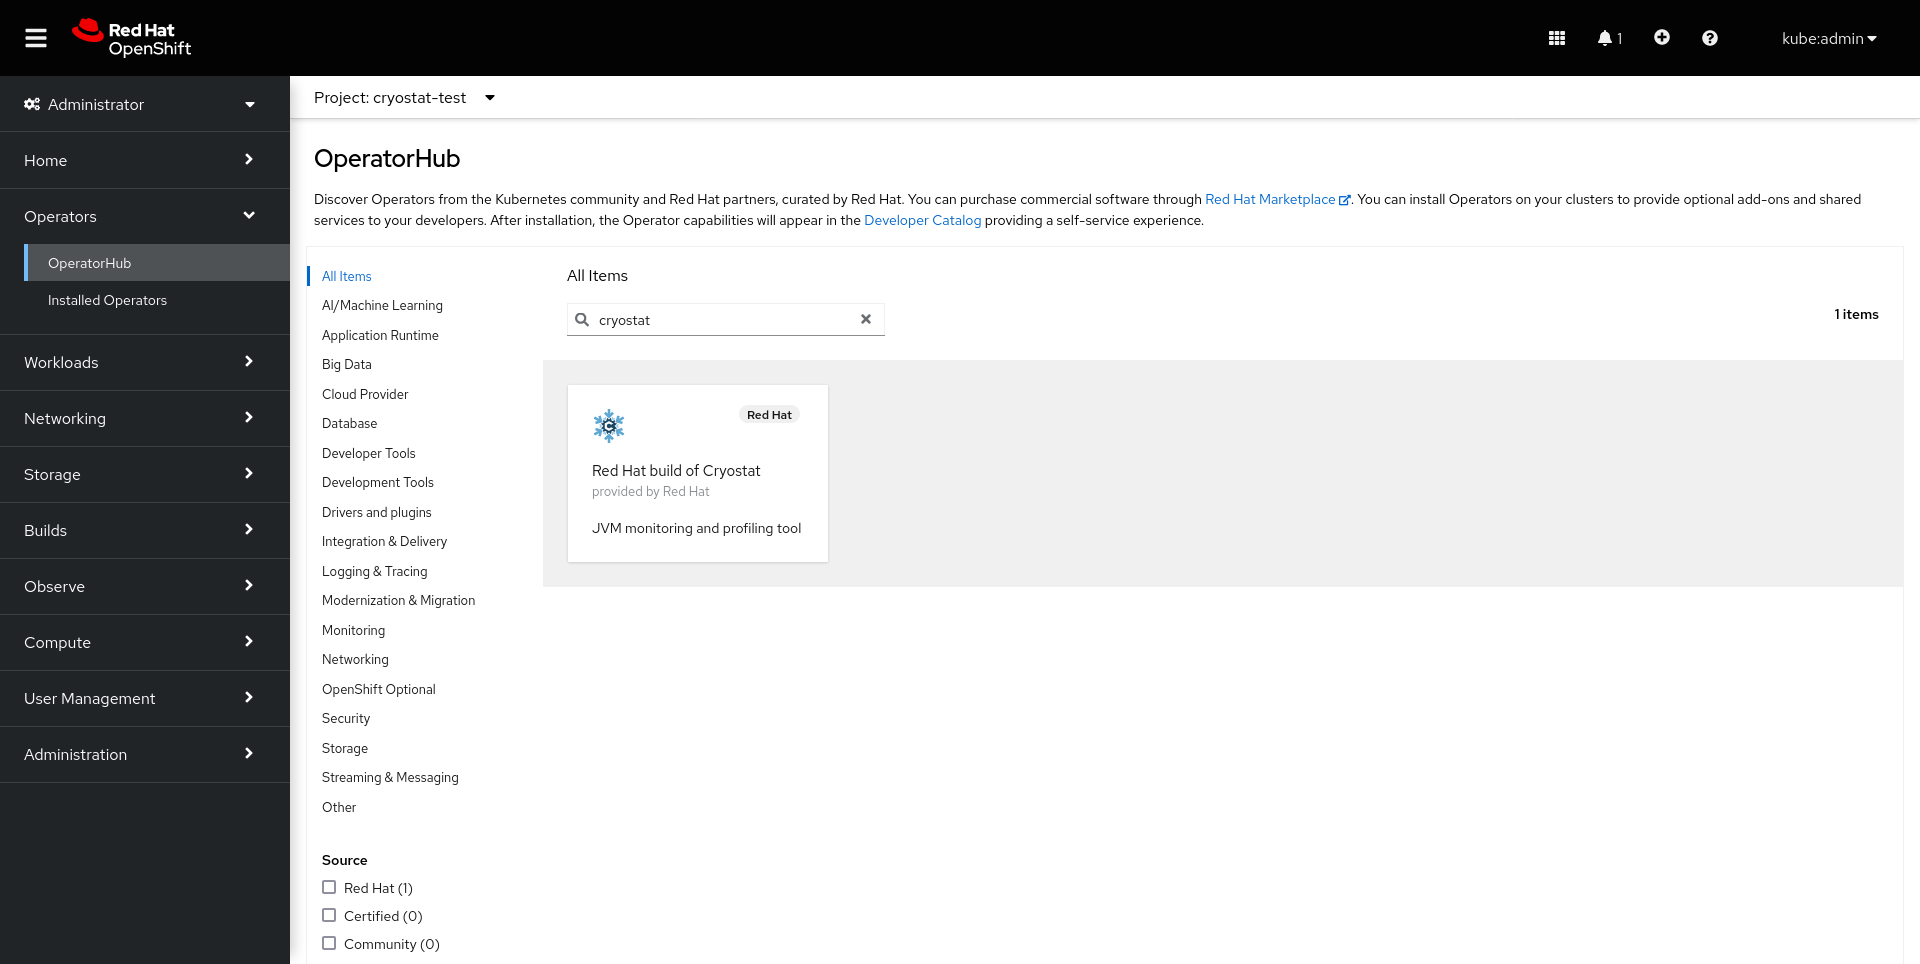
Use the search bar to find the Red Hat build of Cryostat catalog item.
Select the Cryostat Operator and click the Install button
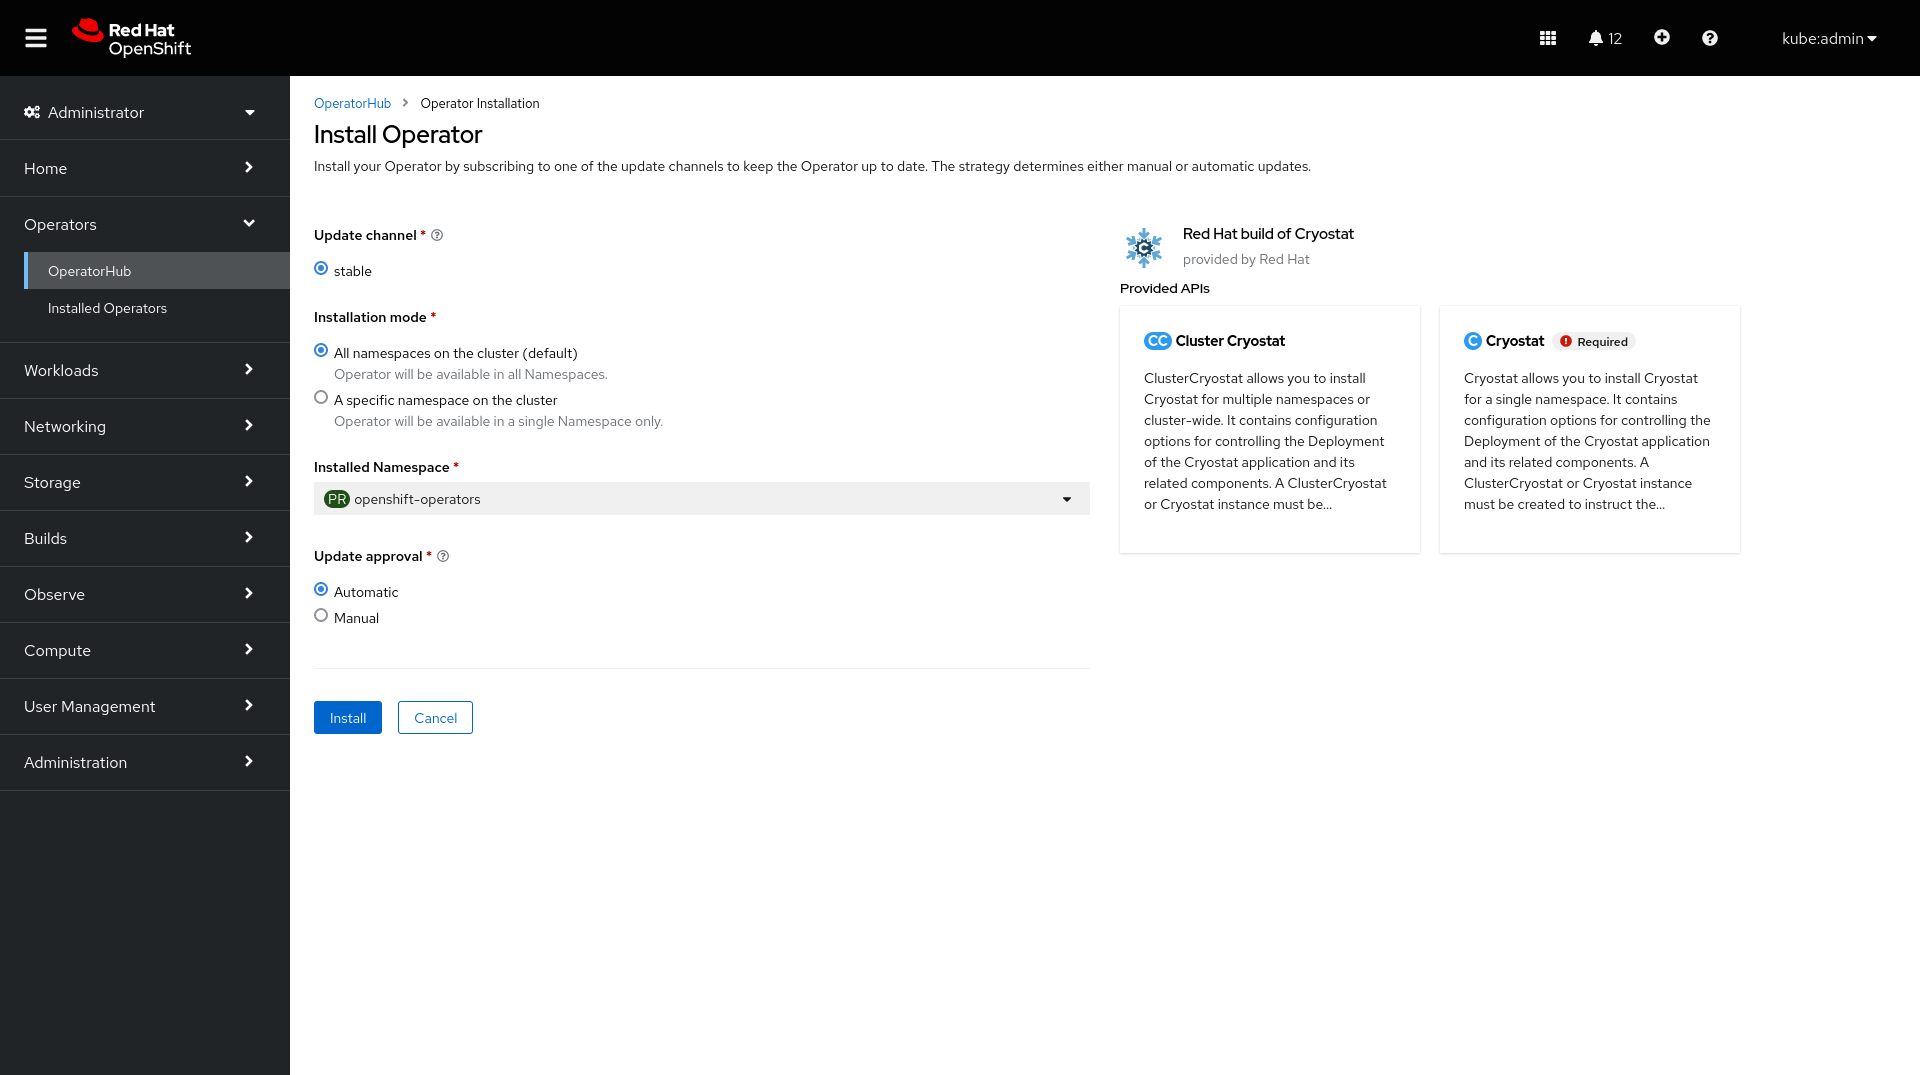
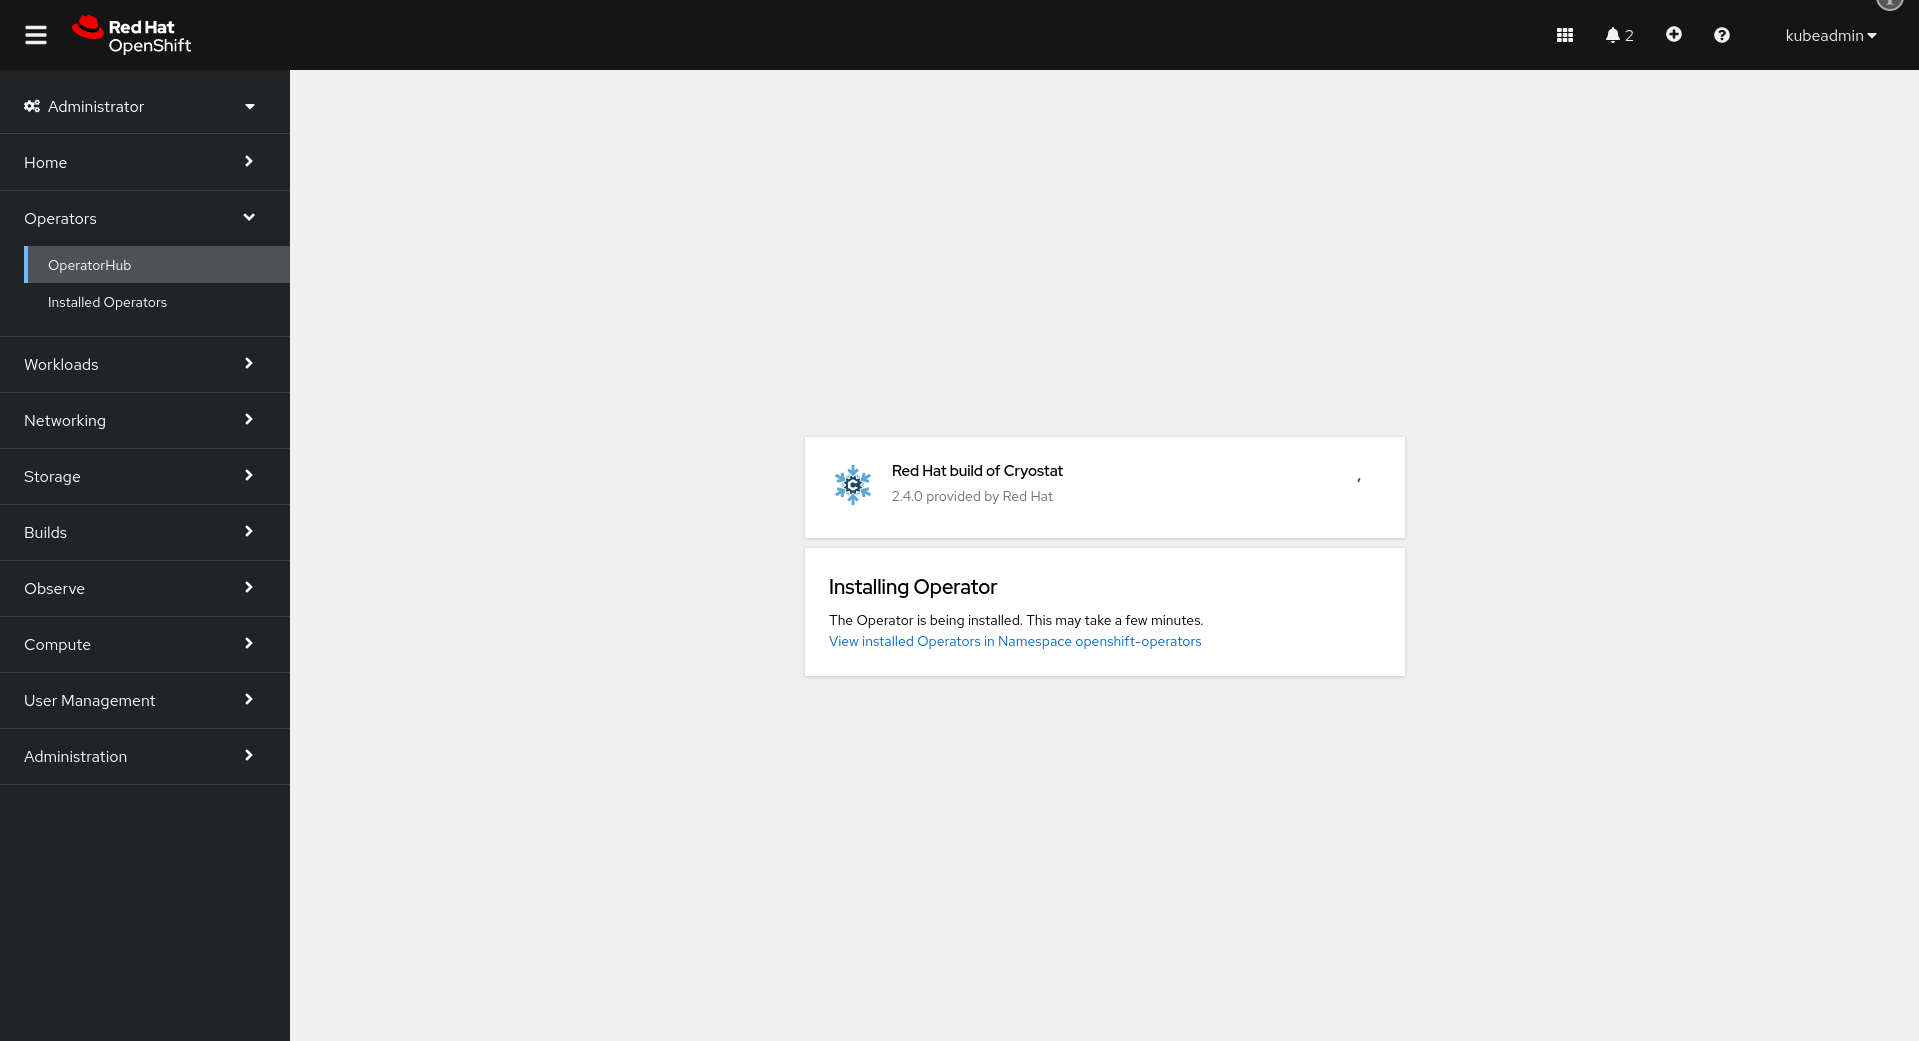
Click “Install” and wait for the installation to complete.
Install the Operator
Continue to Setup.
Setup
Deploying Cryostat
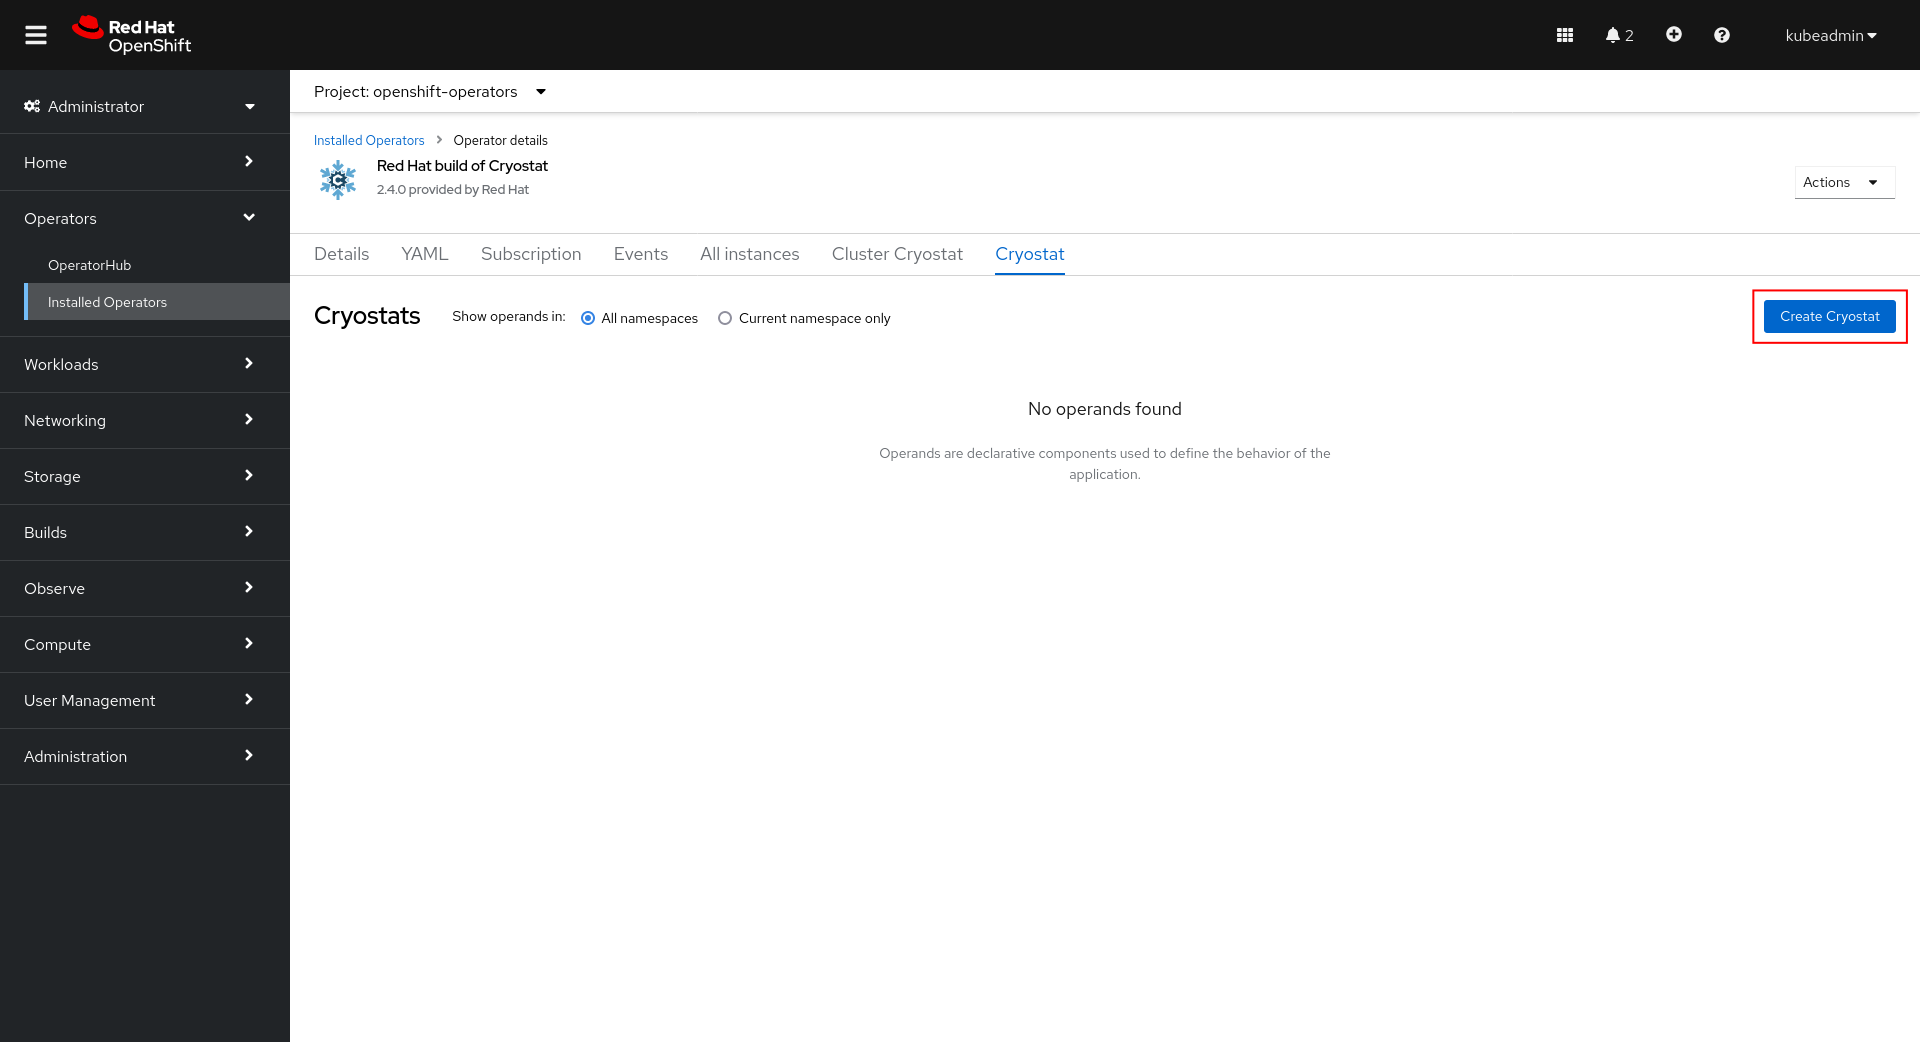
Create a Cryostat instance
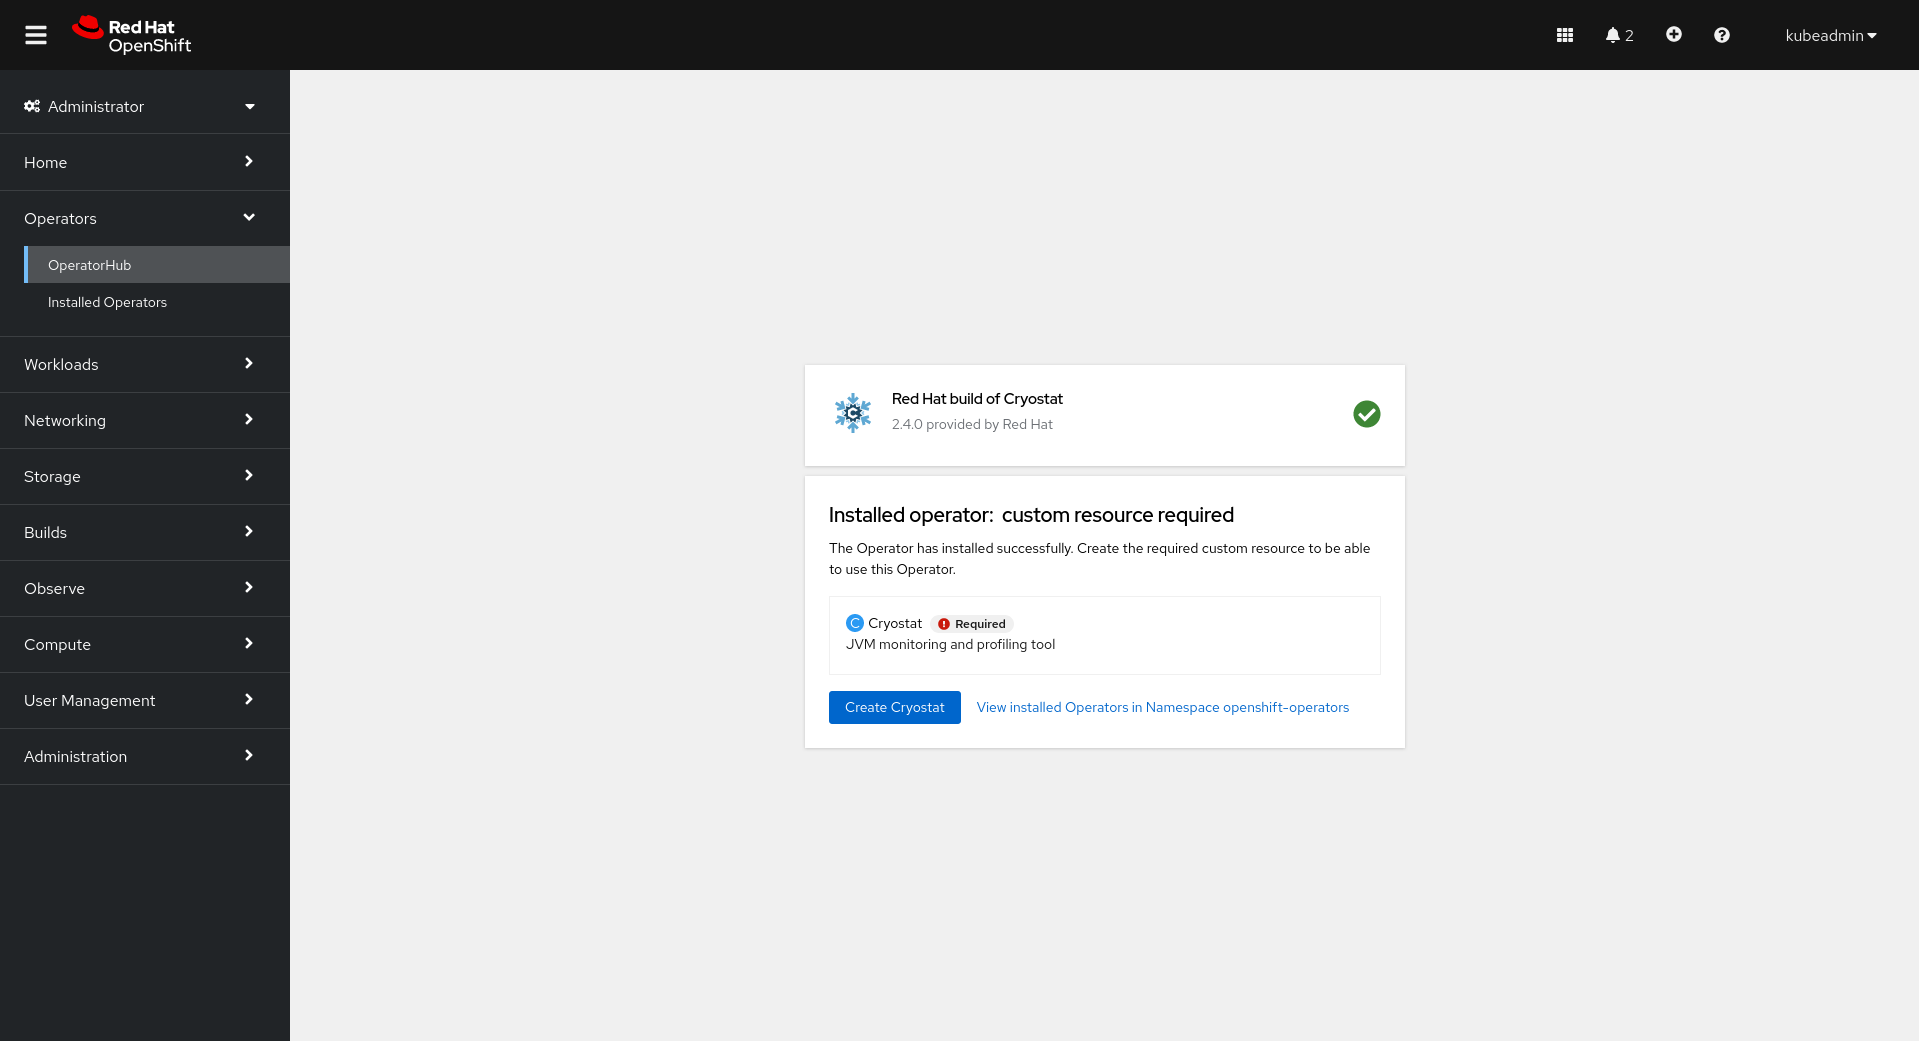
Once the installation is complete, click Create Cryostat to create a Cryostat CR instance in an OpenShift Project (Kubernetes Namespace) of your choice. This provides configuration information for the Operator to know the specifics of how to deploy your Cryostat instance. For full details on how to configure the Cryostat deployment, see Configuring Cryostat.
If running Cryostat on Kubernetes and not OpenShift, you will also need to add Ingress configurations to your Cryostat custom resource (CR). See the Network Options section of Configuring Cryostat for examples.
You can create the CR graphically in the OperatorHub UI after following Install via OperatorHub:
Installed Operators View
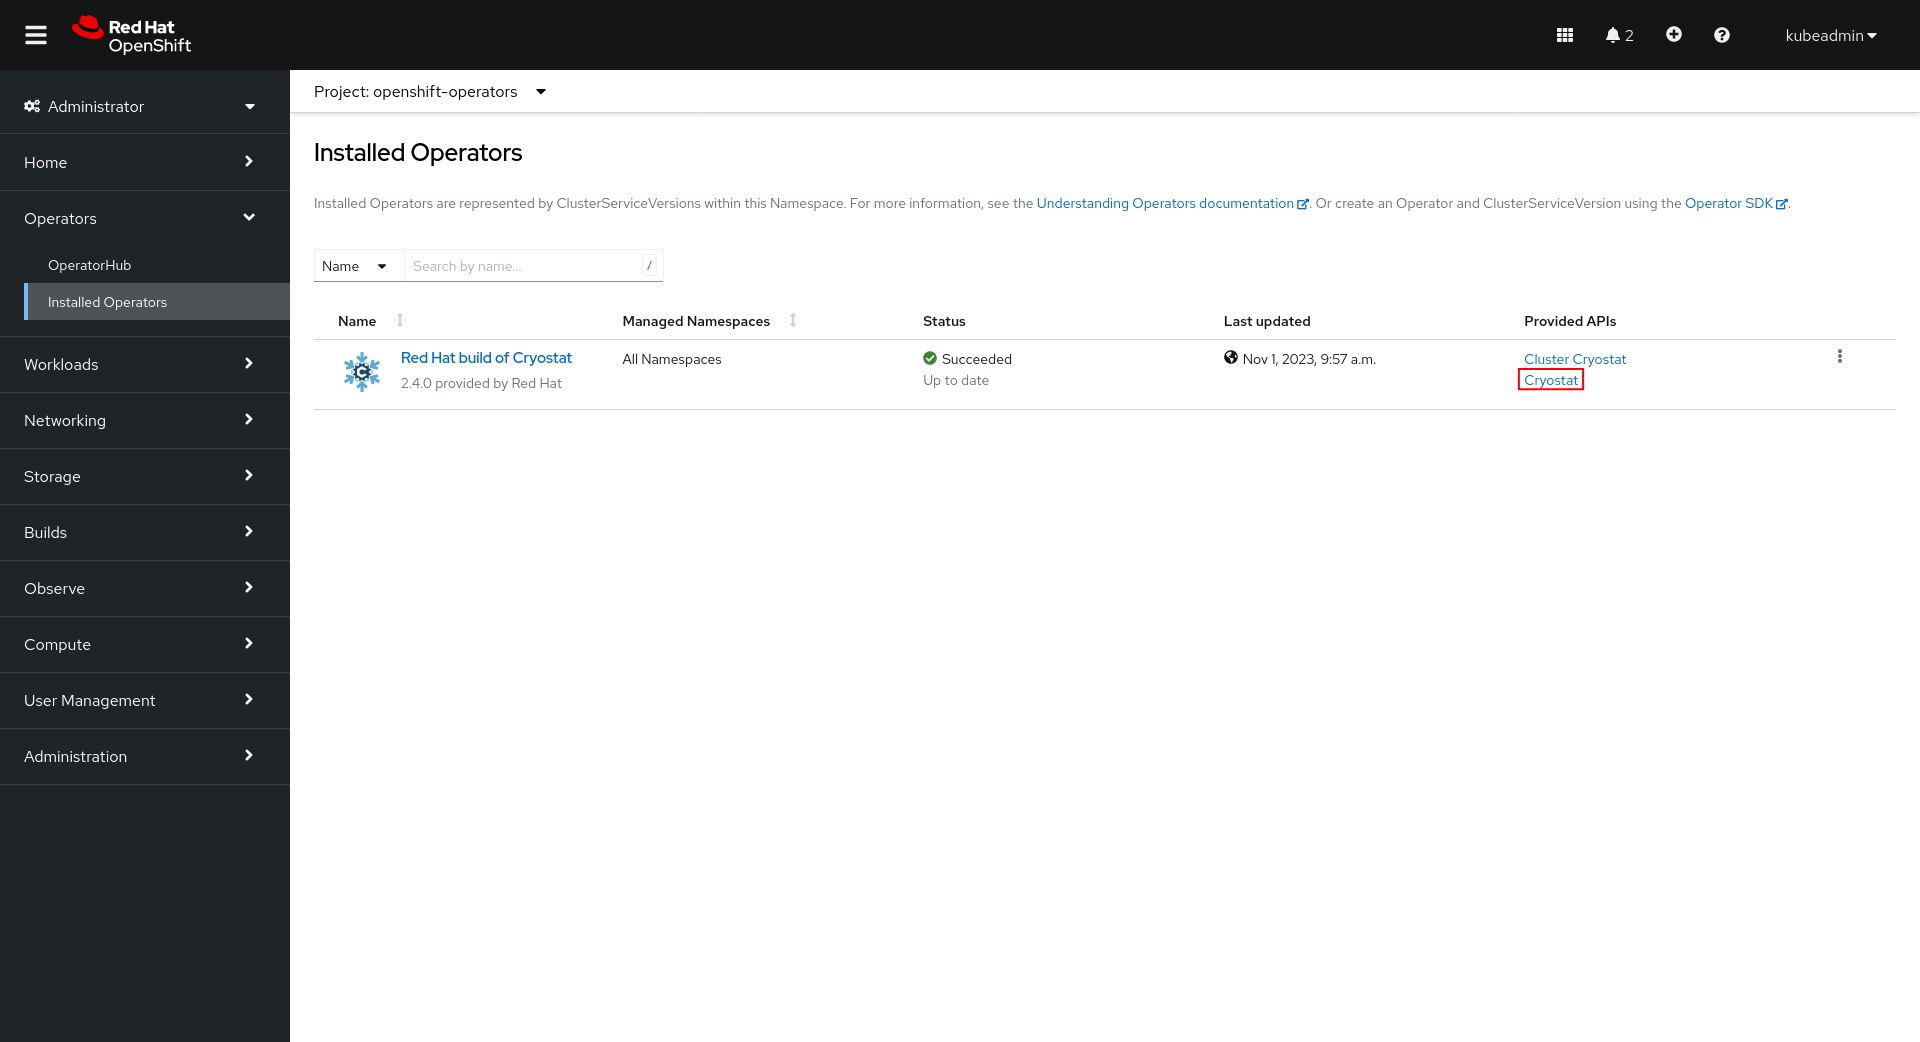
Cryostat Resources Before
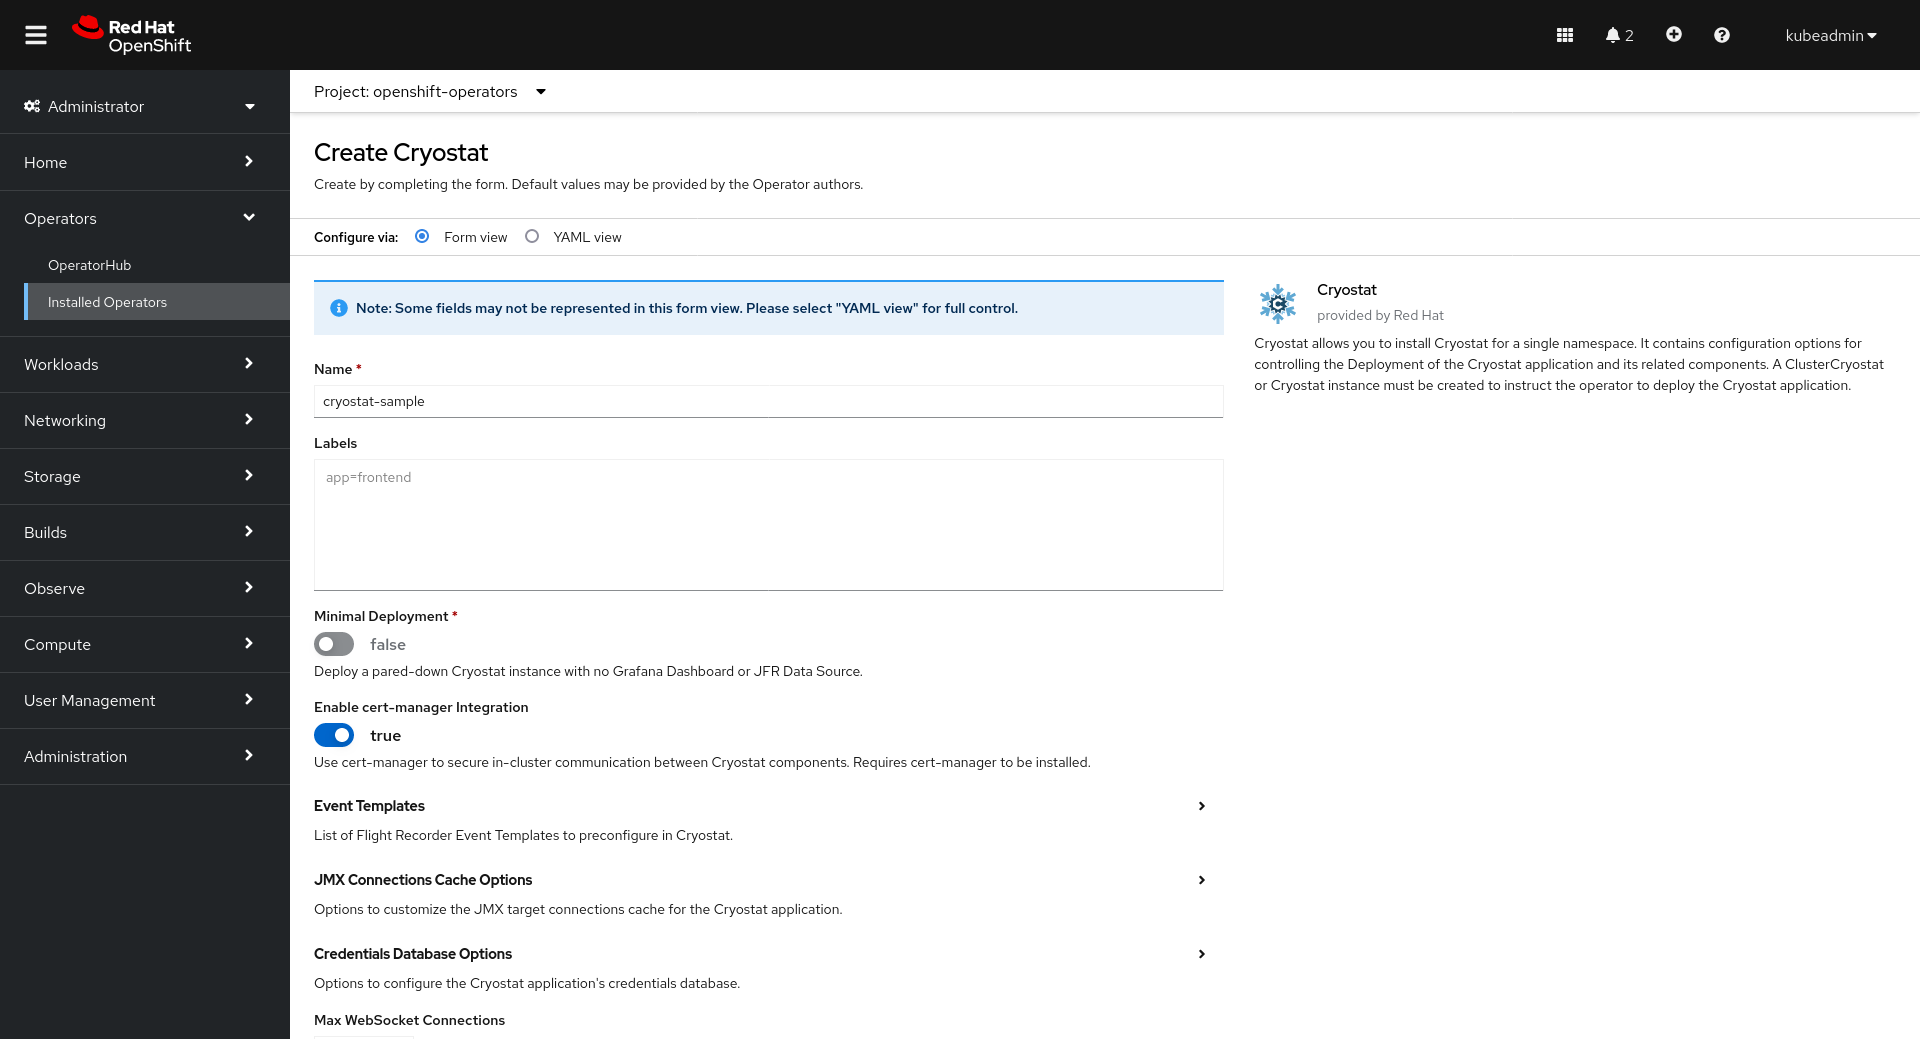
This is where you will configure your Cryostat installation. The Target Namespaces field is worth special attention. If you do not set this, then the Cryostat instance will default to have visibility of other applications within its own (installation) Namespace only. By setting a list of Target Namespace names you can create a Cryostat instance which has visibility of applications in other Namespaces in the cluster, which may or may not include Cryostat’s own installation Namespace.
Cryostat Resource Creation
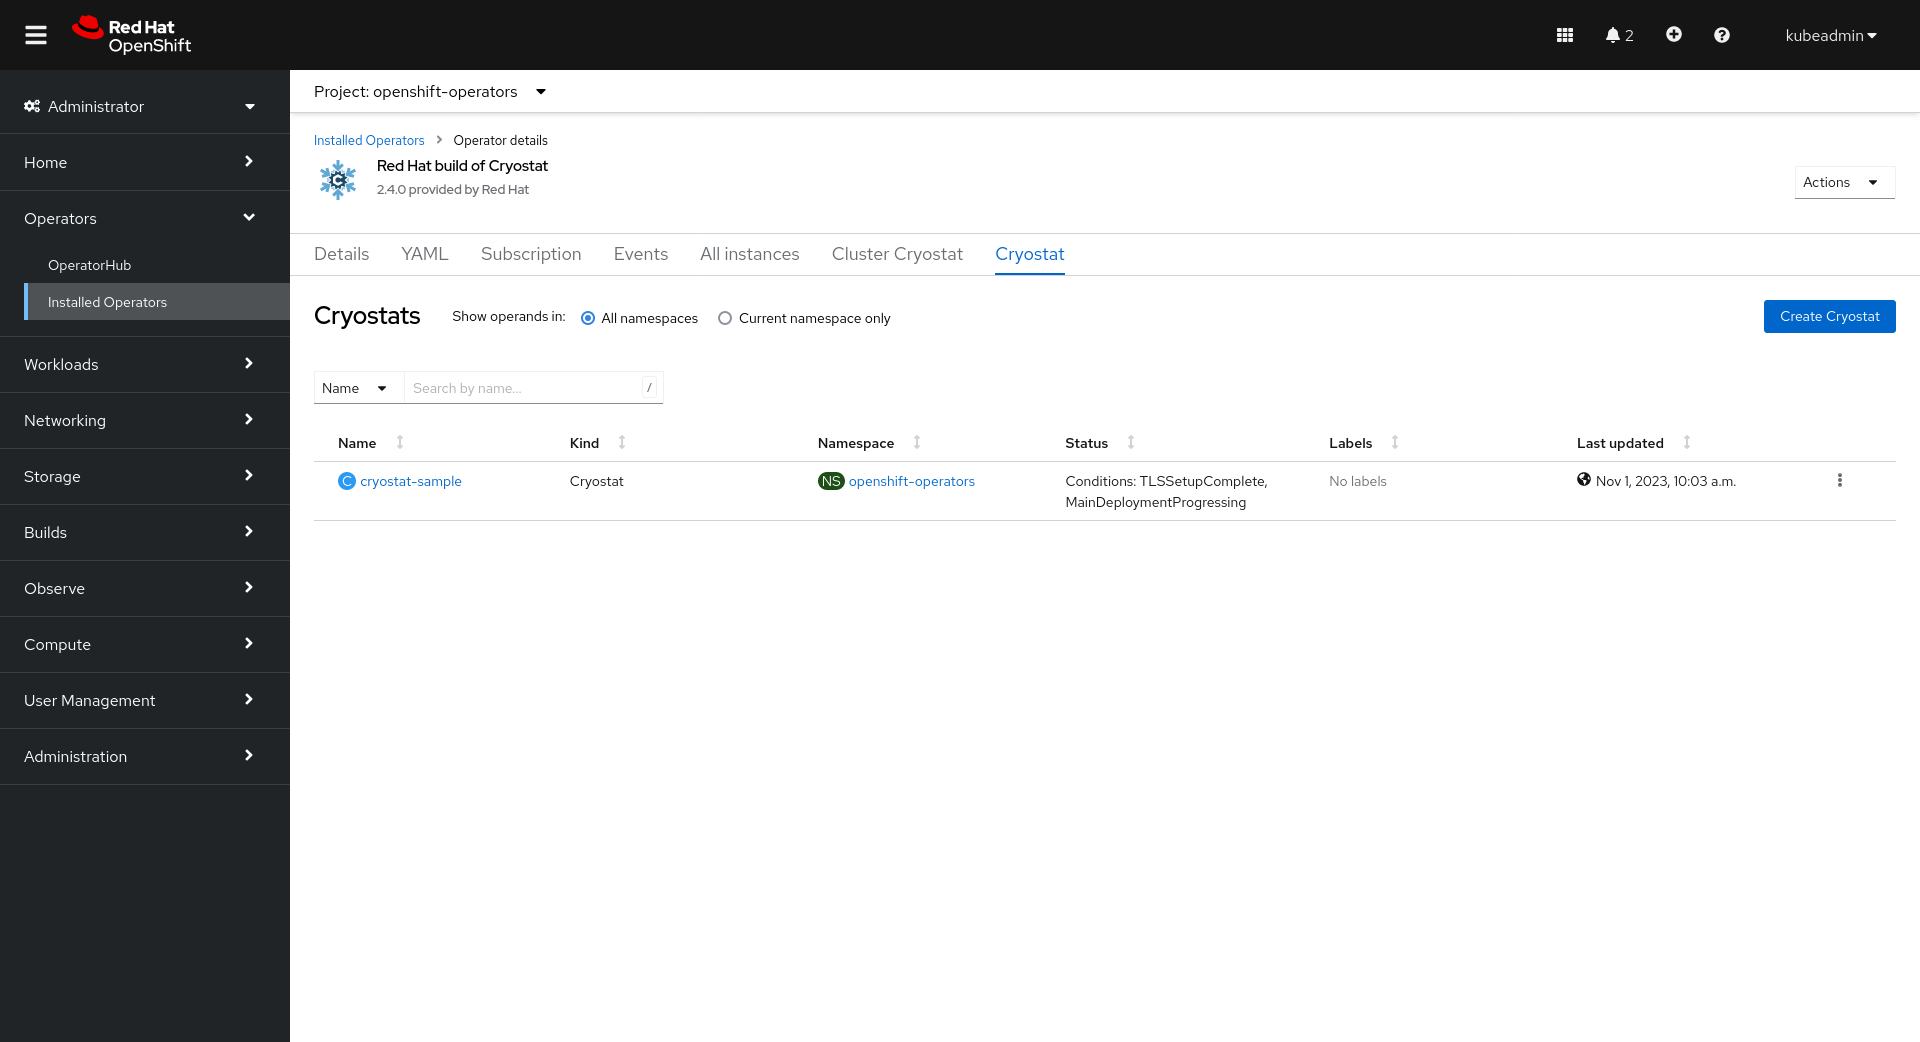
Cryostat Resources After
You can also create the CR manually using a YAML definition like the following:
apiVersion: operator.cryostat.io/v1beta2
kind: Cryostat
metadata:
  name: cryostat-sample
spec:
  enableCertManager: true
  targetNamespaces:
    - cryostat
    - apps1
    - apps2
  trustedCertSecrets: []
  eventTemplates: []
  storageOptions:
    pvc:
      labels: {}
      annotations: {}
      spec: {}
  reportOptions:
    replicas: 0
Then apply the resource:
$ oc apply -f cryostat.yaml
$ # or alternatively
$ kubectl apply -f cryostat.yaml
Open the Cryostat Web UI
Let’s visit the Cryostat web dashboard UI.
We can get there from the Cryostat CR’s status fields:
Cryostat Resource Status

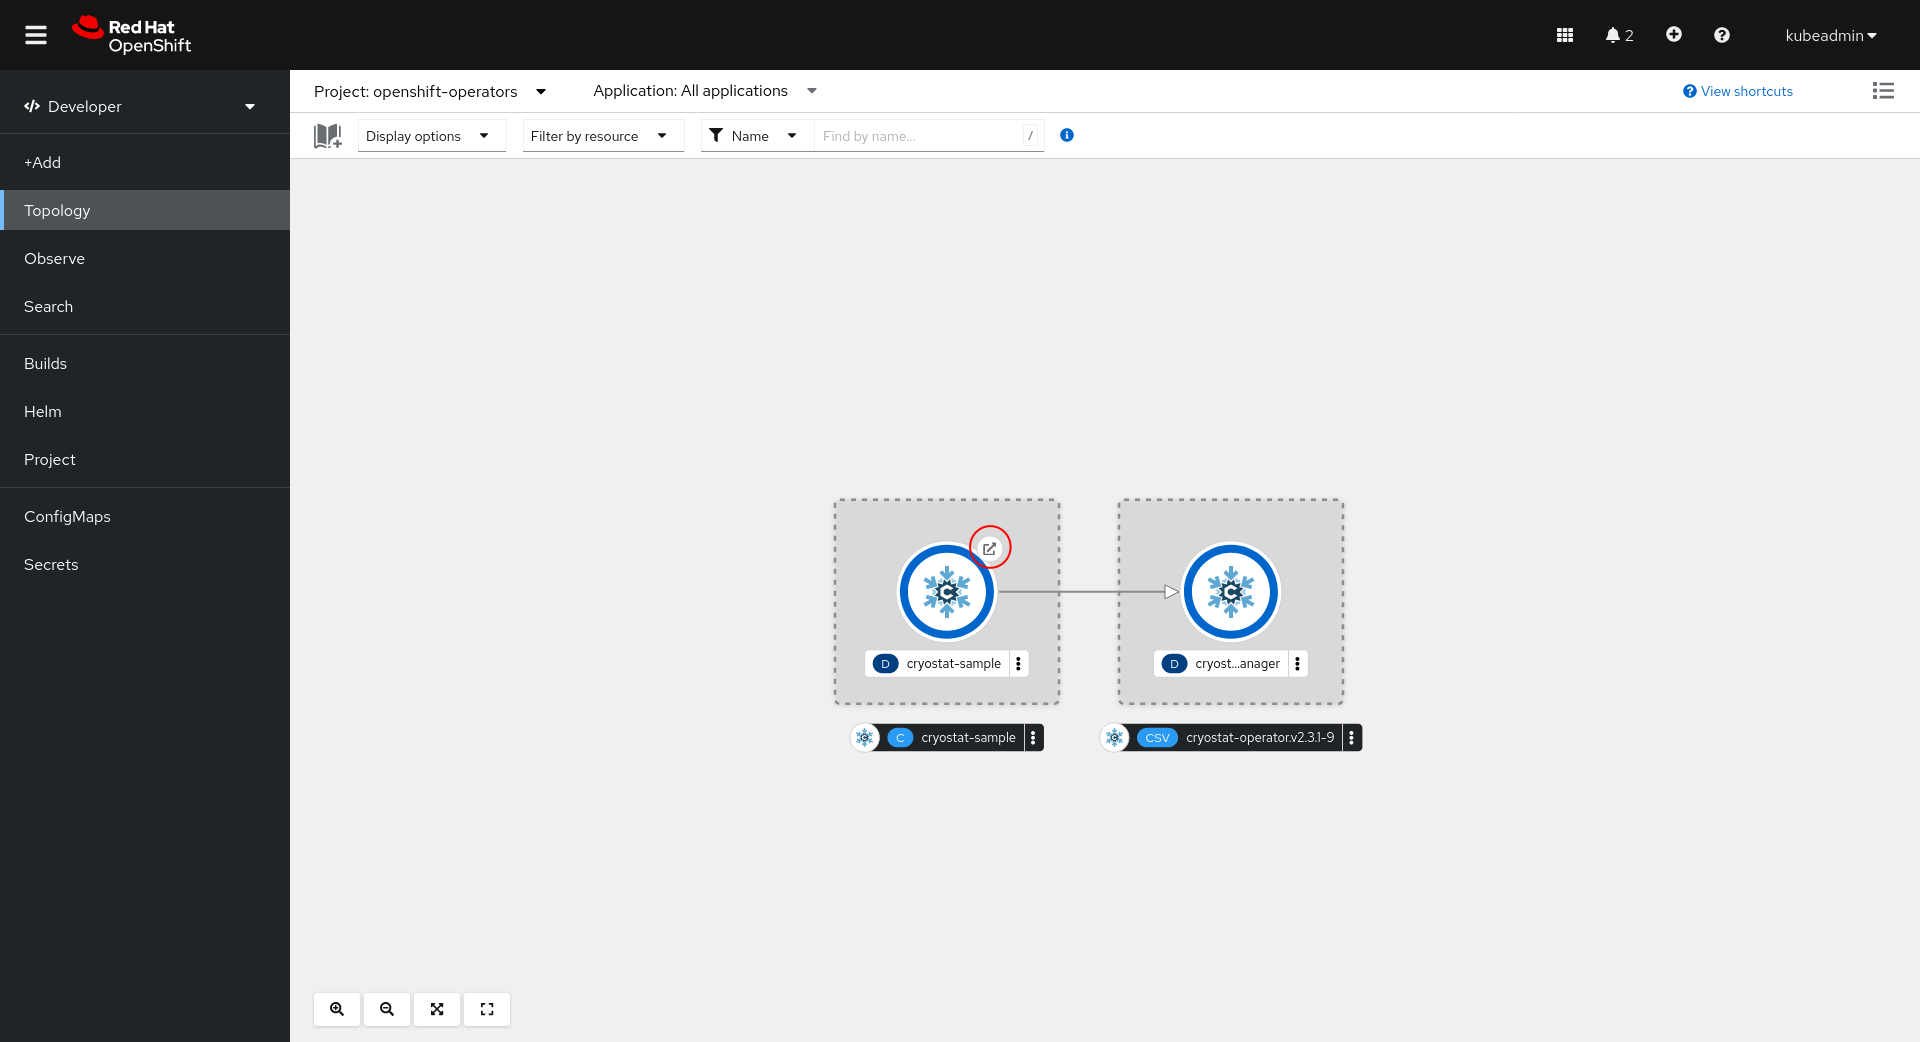
Or, we can open the application link from the OpenShift Console Topology view:
Topology View
We can also find the URL using oc:
$ oc get cryostat -o jsonpath='{$.items[0].status.applicationUrl}'
Authenticate through Cryostat
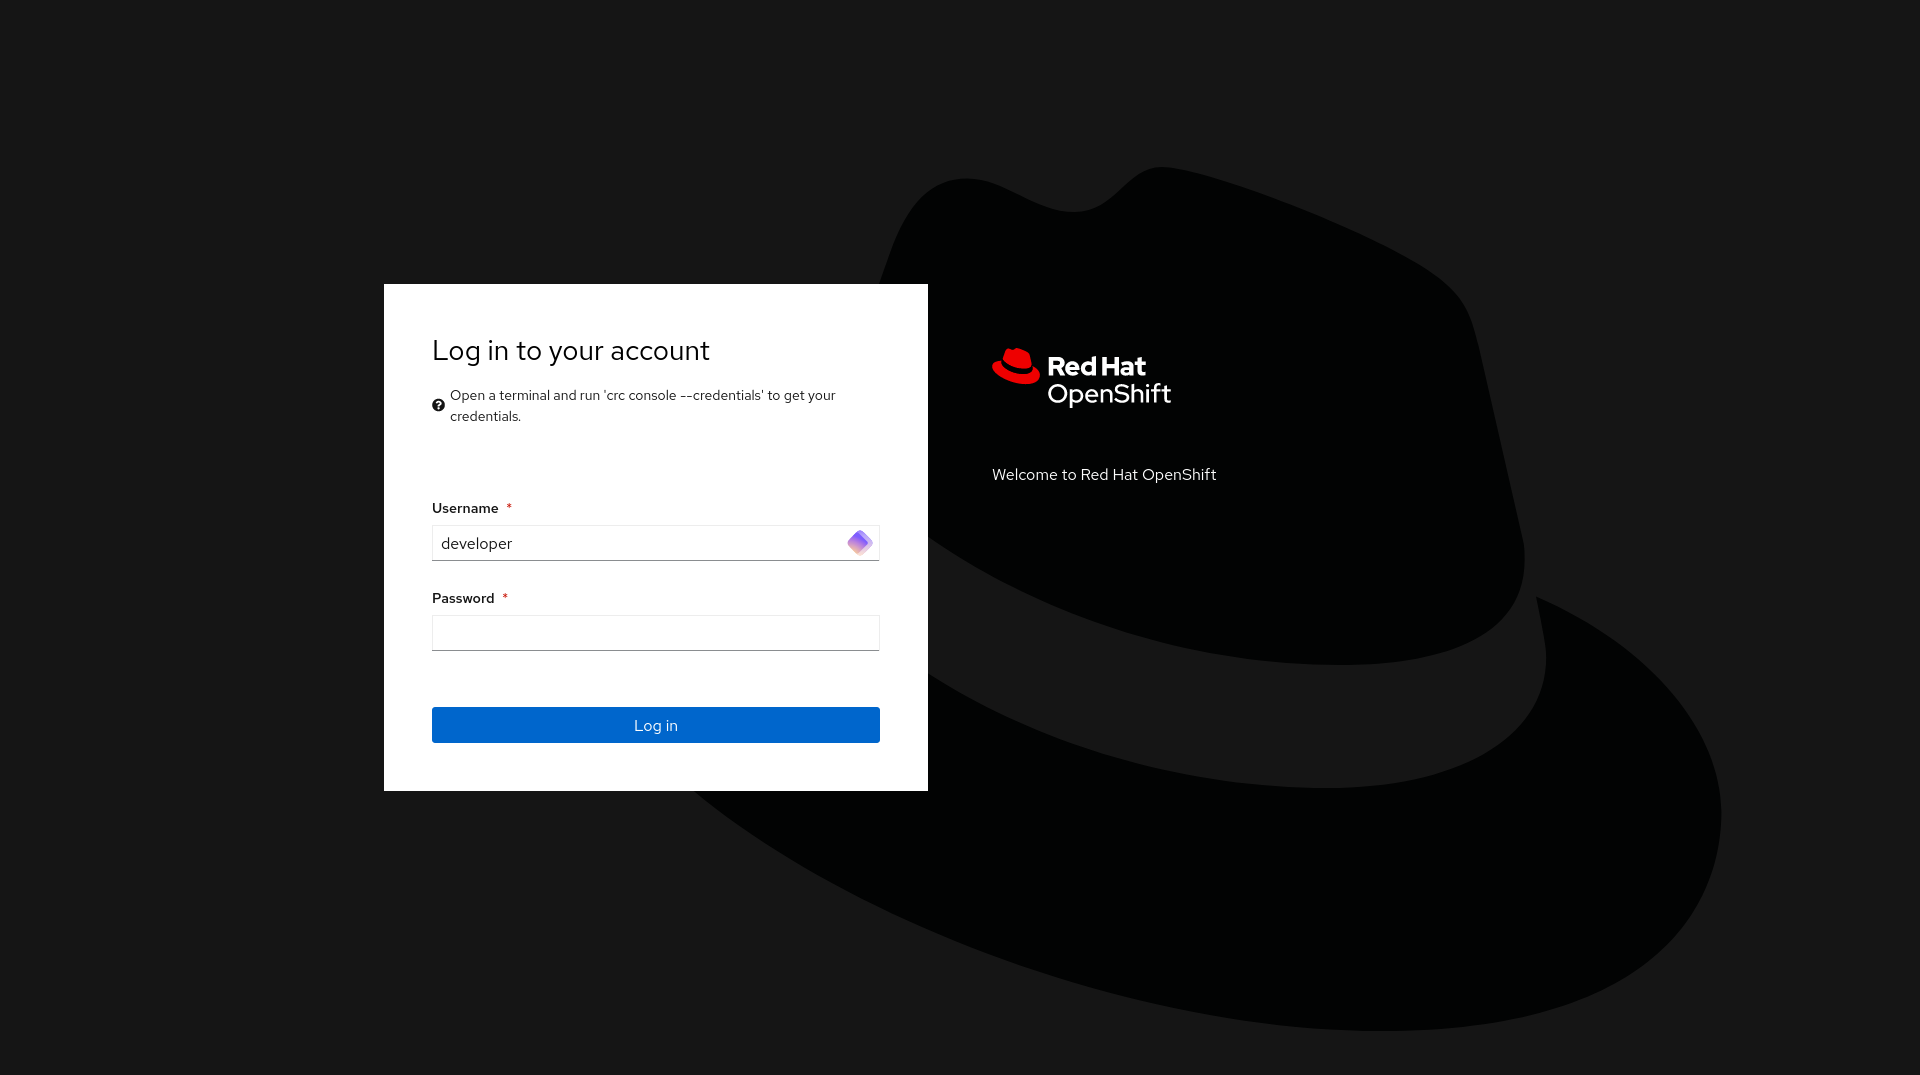
OpenShift Authentication
When deployed in OpenShift, Cryostat will use the existing internal cluster authentication system to ensure all requests come from users with correct access to the Cryostat instance and the namespace that it is deployed within.
OpenShift SSO Login
OpenShift Service Account Permissions
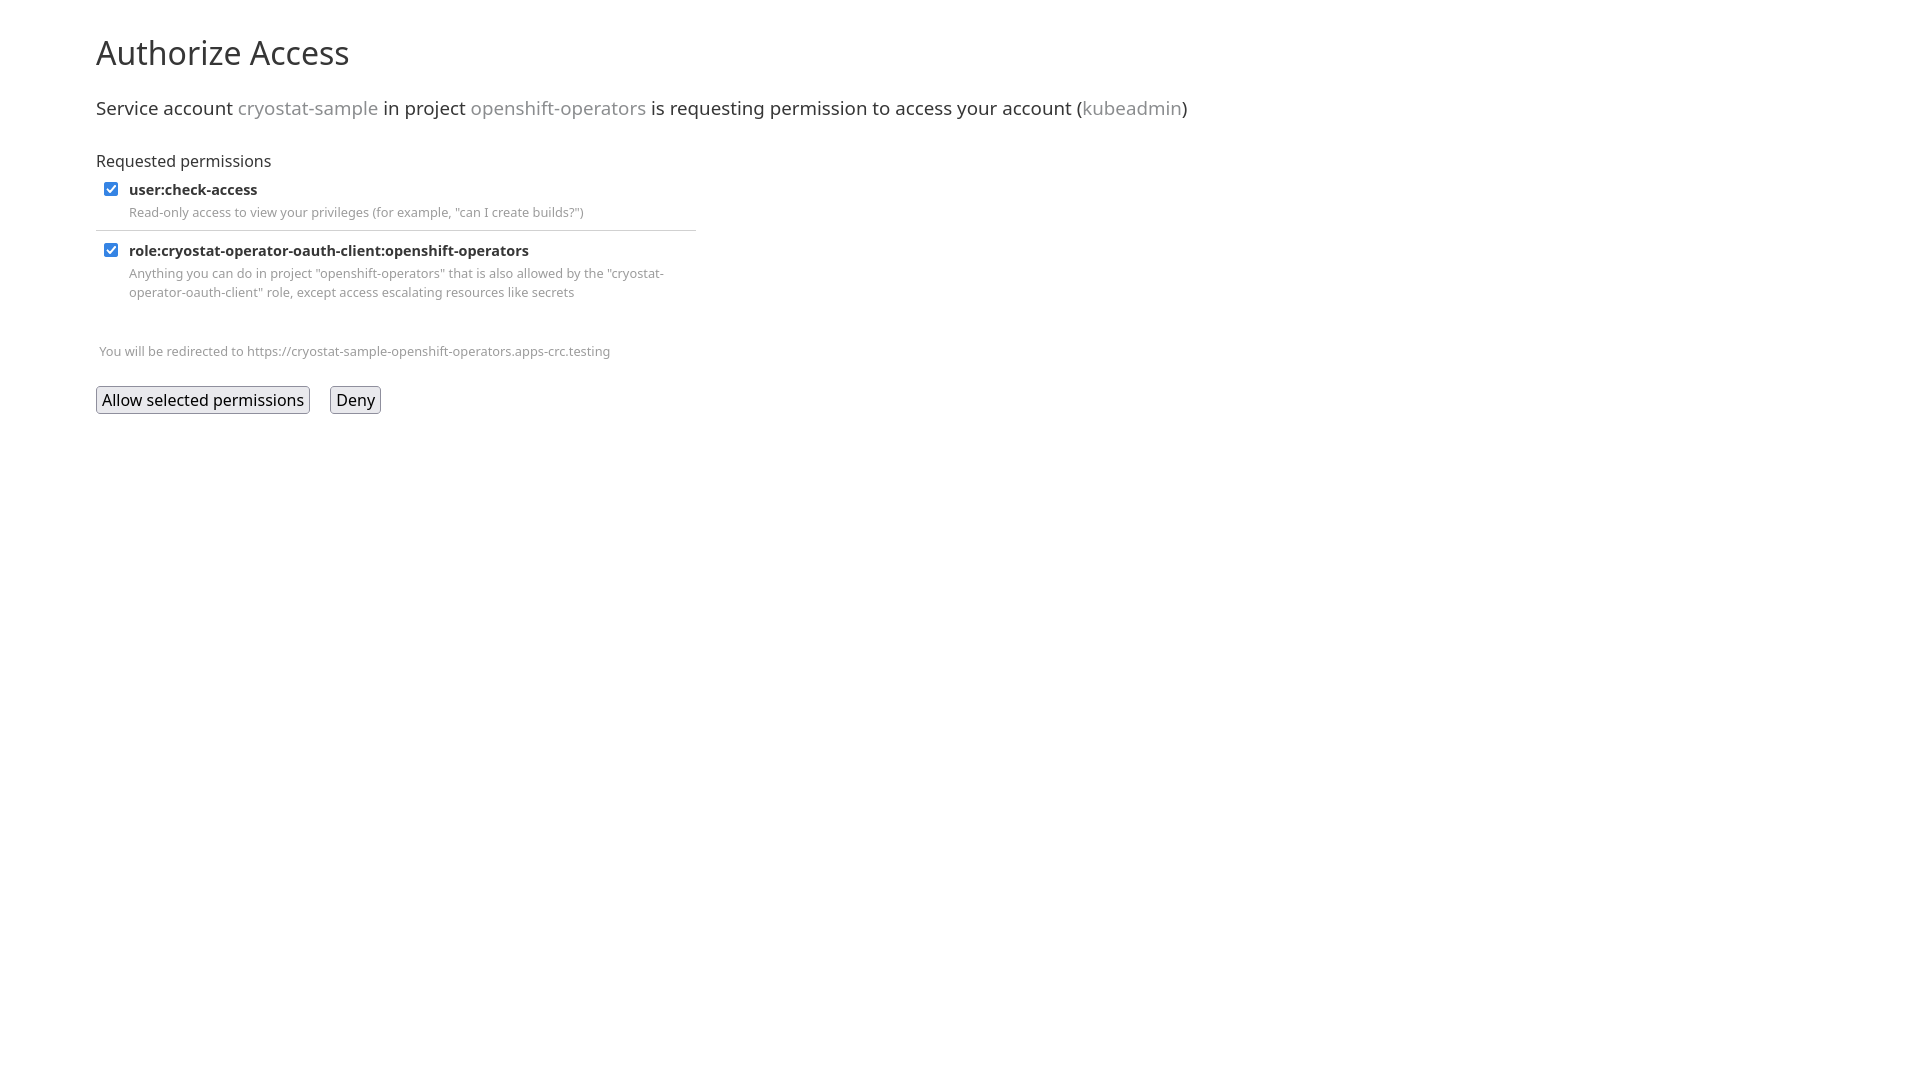
Once you have authenticated through the cluster’s SSO login you will be redirected back to the Cryostat web application.
For direct access to the Cryostat HTTP API you may follow the same pattern.
Using a client such as curl, an OpenShift auth token can be passed with
requests using the Authorization: Bearer header. For example,
$ curl -v -H "Authorization: Bearer $(oc whoami -t)" https://cryostat.example.com:8181/api/v1/targets
Other Platforms Authentication
In non-OpenShift environments, Cryostat will default to no authentication. Access to the web application and the HTTP API will be unsecured.
Basic Auth
The Cryosotat Deployment includes an oauth2-proxy instance which will pass through
all traffic by default, but by using the Cryostat CR
Advanced > Authorization Options > Basic Auth configuration property you can enable an
HTTP Basic authentication system. You will need to create a Secret containing an
htpasswd file defining the users that should be granted access, then reference this
Secret in the CR Authorization Options.
Deploy an Application
For demo purposes, let’s go ahead and deploy a sample application to our
OpenShift cluster in the same namespace as our Cryostat instance. If you have
deployed Cryostat into a namespace where you are already running other
applications, feel free to continue to the next step.
$ oc new-app --image=quay.io/redhat-java-monitoring/quarkus-cryostat-agent:latest
$ oc patch svc/quarkus-cryostat-agent -p '{"spec":{"$setElementOrder/ports":[{"port":9097},{"port":8080}],"ports":[{"name":"jfr-jmx","port":9097}]}}'
This is a Quarkus container in JVM mode with JMX enabled and pre-configured to
listen on port 9097. After deploying the container we patch its service to
name the 9097 service port jfr-jmx. Cryostat will detect and use this port
to determine that this is a compatible Java application that it should monitor.
Configuring Applications
There are two methods of configuring your Java applications so that Cryostat is able to discover and monitor them:
- using the Cryostat Agent for discovery and connectivity
- using platform mechanisms for discovery and Java Management Extensions (JMX) for connectivity
The following sections will briefly explain how to accomplish each of these approaches by example. For simplicity the examples will assume your application
is built with Maven, packaged into an image with a Dockerfile, and running in Kubernetes, but the procedure will be similar for other toolchains and platforms as well.
Using the Cryostat Agent
The Cryostat Agent is compatible with Cryostat versions 2.3.0 and newer, and application JDKs 11 and newer. If you are using an older version of Cryostat we recommend upgrading to ensure compatibility. Please see the version compatibility chart to ensure that your Cryostat server version and Cryostat Agent version are correct. If your application uses a later version of JDK8 with JFR support, please either upgrade to JDK11+ or continue to the next section to learn how to configure your application without the Cryostat Agent.
The Cryostat Agent may even be used with non-Java JVM languages, such as Kotlin, Scala,
Clojure, JRuby, or Jython, so long as these are running on a compatible JVM which
implements JDK Flight Recorder, allows the attachment of Agents, and includes the
com.sun.net.httpserver package.
Automatic Configuration of the Cryostat Agent
Since Cryostat version 4.0.0, the Operator can assist you in automating the use
of the Cryostat Agent with your applications. By adding the cryostat.io/name
and cryostat.io/namespace labels to your application Pod (or Deployment spec template)
you can inform the Cryostat Operator that you wish for your application to be
instrumented with the Cryostat Agent. The Operator will mount a Volume containing
the Agent to your application. It will additonally append the -javaagent flag to your
application’s JAVA_TOOL_OPTIONS environment variable to statically attach the Agent at
startup, and will set other environment variables as needed to supply the Agent with the
required configuration parameters to register it with the Cryostat instance specified by
your cryostat.io/namespace/cryostat.io/name labels.
The following additional labels are available to customize aspects of the injection process:
cryostat.io/callback-port: by default the Agent uses port9977as theHTTPport for receiving requests from the Cryostat instance. You can use this label to specify a different port number in case9977is already used by your application.cryostat.io/container: by default the Operator will inject the Agent to the first container within the Pod. Use this if your Pod runs multiple containers and the first one is not the one you are interested in injecting the Agent into.cryostat.io/read-only: by default the Agent instance is configured with read-write access for the Cryostat instance, allowing full usage of actions such as starting Flight Recordings. If you only want the Agent instance to allow read access you can set this label totrue.cryostat.io/java-options-var: by default the Operator uses theJAVA_TOOL_OPTIONSenvironment variable to add the-javaagentflag so that the application JVM loads the Agent. This value will be appended to any existing value of the environment variable. If your application or framework requires the use of another environment variable, such asMODULE_OPTSorJAVA_OPTS_APPEND, then you can use this label to customize which variable the Operator uses.
The following table lists some tested and known compatible application frameworks and any particular adjustments required:
| Framework | Adjustments |
|---|---|
| Quarkus | N/A |
| GraalVM Native | Incompatible (Agents not supported) |
| Spring Boot | N/A |
| Micronaut | N/A |
| WildFly | cryostat.io/java-options-var: MODULE_OPTS |
| JBoss EAP | Same as WildFly |
| Clojure Kit | N/A |
Some adjustments may still be required, depending on the application base image used or any custom application entrypoint scripts.
Alternative Agent Setups
The Cryostat Agent can also be used in an ad-hoc dynamic attachment mode, or statically attached to your application at startup. For more information on these configurations, check the advanced Agent configuration document.
Using JMX
Cryostat is also able to use Java Management Extensions (JMX) to communicate with target applications. This is a standard JDK feature that can be enabled by passing JVM flags to your application at startup. A basic and insecure setup suitable for testing requires only the following three flags:
-Dcom.sun.management.jmxremote.port=9091
-Dcom.sun.management.jmxremote.ssl=false
-Dcom.sun.management.jmxremote.authenticate=false
It is recommended that you enable both SSL and authentication on your application. You can then trust the certificate
and store the credentials. Configuration of SSL and authentication on the JVM
JMX server is out of scope of this guide, but resources should be available from your JVM vendor.
Depending on your application or its framework, you may set these flags directly in a Dockerfile entrypoint, an environment variable, or similar. This may or
may not require a container image rebuild, and it will require the container to be restarted. Once this is done the application container will be listening for
incoming JMX connections on port 9091. Let’s assume it can be done by setting an environment variable, so we only need to modify our Deployment:
apiVersion: apps/v1
kind: Deployment
...
spec:
  ...
  template:
    ...
    spec:
      containers:
        - name: sample-app
          image: docker.io/myorg/myapp:latest
          env:
            - name: JAVA_OPTS_APPEND
              value: >-
                -Dcom.sun.management.jmxremote.port=9091
                -Dcom.sun.management.jmxremote.ssl=false
                -Dcom.sun.management.jmxremote.authenticate=false
            ...
Next, we need to configure a Kubernetes Service to expose this port for cluster-internal traffic, so that Cryostat can see
and connect to this application JMX port.
apiVersion: v1
kind: Service
...
spec:
  ports:
    - name: "jfr-jmx"
      port: 9091
      targetPort: 9091
...
Cryostat queries the Kubernetes API server and looks for EndpointSlices with a port either named jfr-jmx or
with the number 9091. One or both of these conditions must be met or else Cryostat
will not automatically detect your application. The creation of a Service will trigger the creation of an
EndpointSlice object for each Pod behind the Service, with each EndpointSlice reflecting the Service port and
unique Pod IP address, so that Cryostat is able to enumerate all of the Target application Pods without
going through the indirection of a Service or getting confused due to LoadBalancer behaviour.
If the port name jfr-jmx or number 9091 do not work for your application deployment, check the
advanced configuration document for information on how to configure Cryostat to
look for different names/numbers.
Next Steps
Now that you have installed and deployed Cryostat and know how to access its web client, continue on to Guides for guides through various common actions and workflows. For more information on advanced installation configurations, continue to Docs.
Uninstalling Cryostat Operator
Reference OLM guide on uninstalling Operators.
- Delete all Cryostat Custom Resources before uninstalling the Cryostat Operator.
- The Cryostat Operator’s ClusterServiceVersion and
Subscriptioncan be found in the Namespace openshift-operators.
